
I couldn't help myself...
I HAD to make a Book Banner and I HAD to do it Today!!
It was really easy and adds so much color to the classroom.
And did I mention it was Super Easy to make!!
I HAD to make a Book Banner and I HAD to do it Today!!
It was really easy and adds so much color to the classroom.
And did I mention it was Super Easy to make!!

Now I will admit, I didn't think I had enough book jackets. But I was determined to "get my craft on". Today! So I started searching through all my favorite children's books from my classroom and my kids' rooms.
Low and behold I found more than I expected!!
Low and behold I found more than I expected!!
Being a Newbie teacher has it's perks - book dust jackets aren't worn out yet! If you are a seasoned teacher this may not be the case. Don't let that stop you though - ask your neighbors, friends, family and class parents if they have a few to send your way. You can always add to it later if need be with my simple method. I think 8 or 9 is perfect to get you started. I did this one with just 9 and I can easily add more using the method I'm about to show you.
Quicker, Cheaper, Easier
I made mine a little different than the others I have seen out there. There are 2 things I did differently.
First, I spent a lot less money on ribbon as I did not stream it across the tops of each cover. And it requires NO hot gluing so my fingers are Happy!
Secondly, I have a cute back to mine. The reason for the back was that I wasn't sure if I wanted to hang them against a wall, or in front of the windows, or possibly even in the middle of the classroom from the lights. In the latter two cases someone would have to look at a plain white back to the cover - Boring!! So this is how I made them colorful for all viewers, whether from the front or the back.

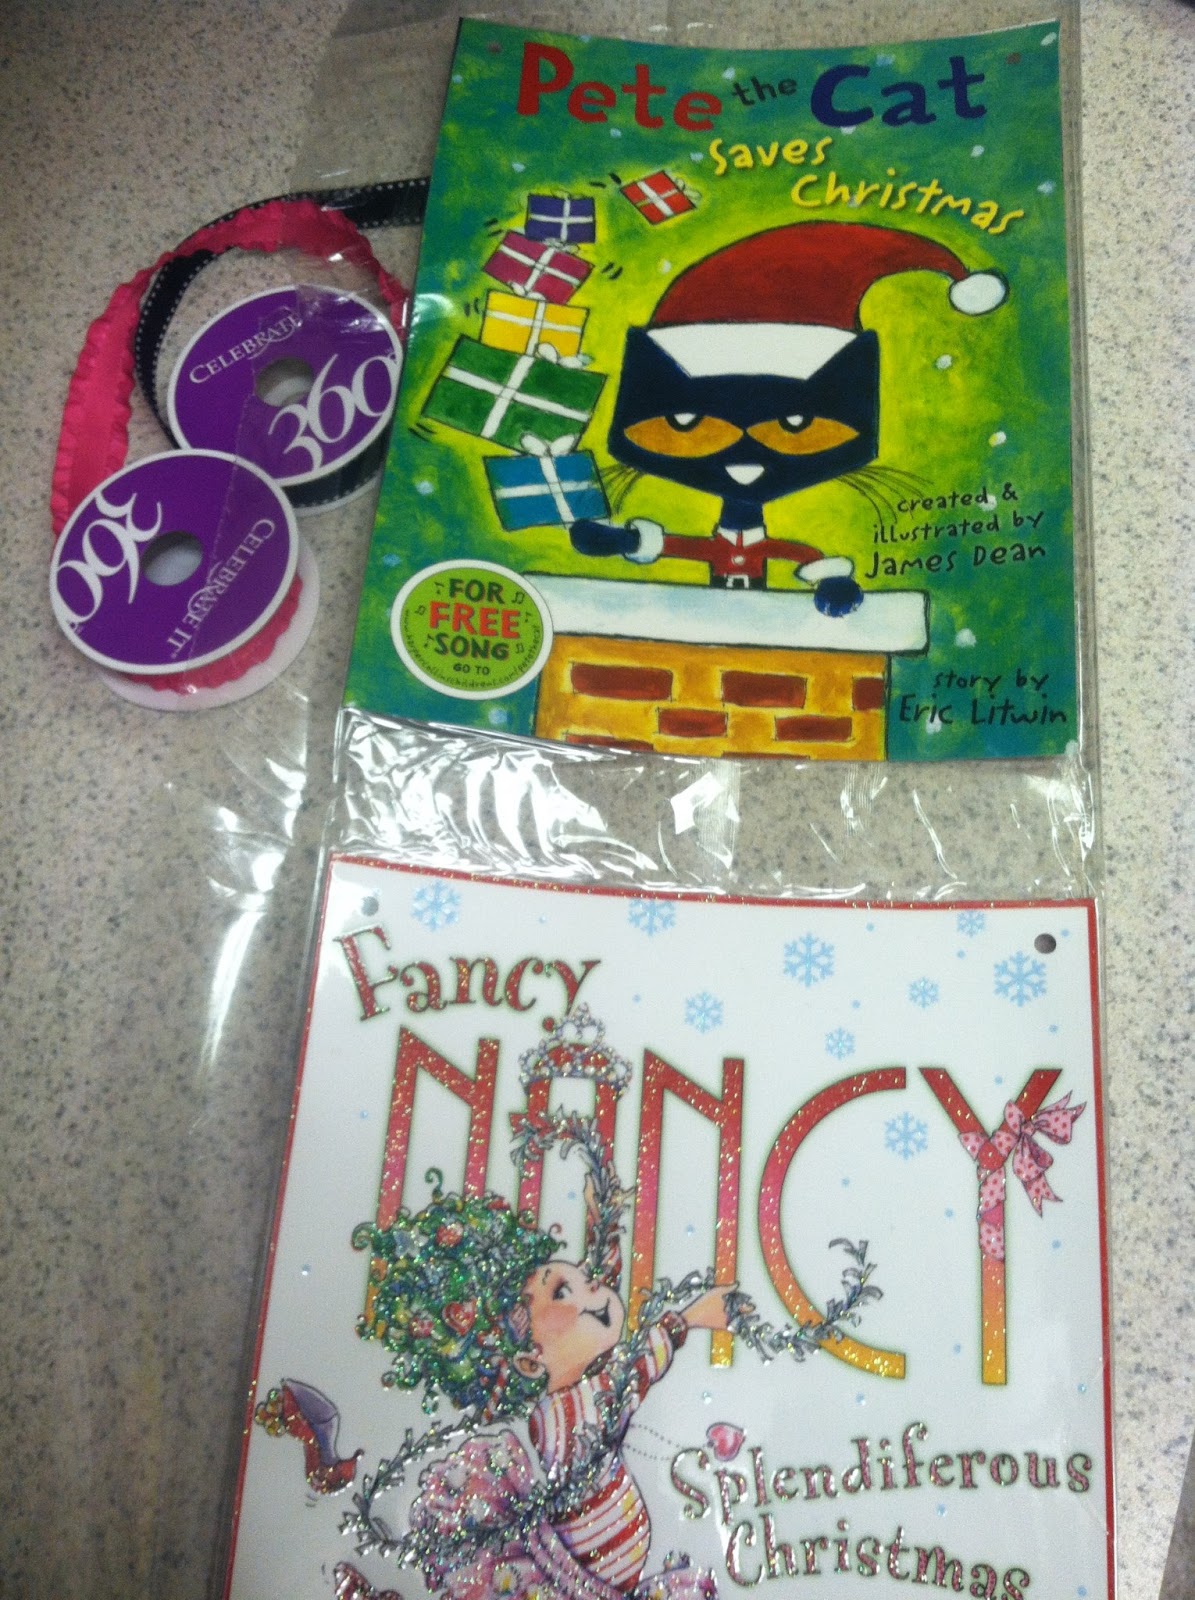
So here's my confession. I made my banner and then thought about putting it on my blog as an after thought. So sorry I was caught up in the moment. But I had two Christmas ones that I was saving for the season so I will use them in this tutorial.
Here's How I worked it out:
1) After collecting my stash of jackets I cut out just the face and the back, cutting off the spine cover and flaps.
2) Then I taped the front and back of each book jacket to a black sheet of paper. The reason for this is that if you are hanging it in front of a sunny window you will most likely see the back through the front distorting the final piece.
I just used construction paper since I had plenty left over from the school year, plus cardstock might make the banner too thick and heavy.

3) After they were all taped I sliced off the access on the big paper trimmer in the office at my school, to make each front and back even. And well since I was Right next to the laminator I HAD to zip them through there {Of Course}!
And Whala!!
I know I am OCD about laminating but I would seriously recommend you laminate this project for durability through out the years.
4) I gave them each a quick hole punch in the top corners and then laid them all out on the floor. I wanted to make sure the size and shapes were balancing out, so that my banner was exactly how I envisioned.

5) Then I tied them all together with some cute ribbon! The great thing about the way I did mine was that you can always expand your banner by adding a newly acquired book cover wherever it would look best. And you don't have to spend a small fortune on ribbon!

5) Then I tied them all together with some cute ribbon! The great thing about the way I did mine was that you can always expand your banner by adding a newly acquired book cover wherever it would look best. And you don't have to spend a small fortune on ribbon!
With the help of my son I put together a quick video to show you each step along the way!
Now go get some ribbon and "get your craft on"!!
No comments:
Post a Comment